Painting your home can be a fun and rewarding project. However, to achieve a beautiful finish, it’s essential to follow some key tips. Whether you’re a beginner or have painted before, these ten tips will help you get the best results and make the process smoother. Let’s dive into the top ten tips for house painting!
1. Quality Brushes
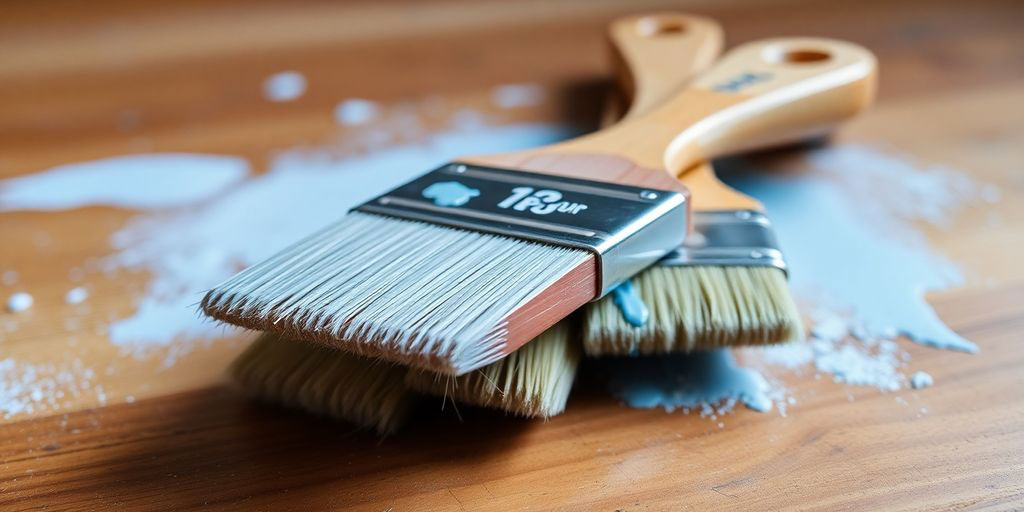
When it comes to painting, the right brush can make all the difference. You might think any old brush will do, but trust us, investing in quality brushes is key to a smooth finish. Here’s what you need to know:
- Types of Brushes: For water-based paints, go for nylon or a nylon-polyester blend. They keep their shape and are easy to clean. If you’re using oil-based paints, natural bristle brushes are your best bet.
- Brush Sizes: Don’t just stick to one size! Using a variety of brush sizes can save you time and effort. Here’s a quick guide:
- 3 to 4 inches wide for large areas
- 2 to 3 inches for walls and ceilings
- Smaller brushes for corners and trim
- Care for Your Brushes: Always clean your brushes after use. A well-cared-for brush will last longer and perform better.
So remember, always buy the best brushes you can afford. A good quality brush will offer more comfort while working long hours and give you a better overall paint result!
2. Primer
When it comes to painting, primer is your best friend. It’s like the warm-up before the big game! Using primer helps seal any patches on your walls, so the paint doesn’t sink in and look dull. Here’s why you shouldn’t skip this step:
- Seals the surface: Primer locks in the surface, preventing the paint from soaking in.
- Smooths out texture: If you’ve got any rough spots, a quick coat of primer can help even things out.
- Better colour coverage: It helps the paint colour pop and look more vibrant.
Hot Tip!
- Use a roller for a smooth finish, feathering out the edges to match the wall texture.
- Choose a nap thickness that fits your wall: a 3/8-inch nap for smooth walls and a 1/2-inch for textured ones.
- Always clean the surface before applying primer to ensure a strong bond with the paint!
3. Paint Samples
When it comes to picking the right colour for your walls, paint samples are your best friend. You don’t want to end up with a colour that looks great in the store but terrible in your home. Here’s how to make the most of your paint samples:
- Test on the Wall: Always paint the samples directly on the wall instead of on the boards. This way, you can see how the colour interacts with your lighting and furniture.
- Go Big: Aim for at least a 1′ x 1′ area when testing. Smaller patches can be misleading.
- Multiple Walls: If you can, test the colour on different walls. Colours can look different depending on the wall’s orientation and the light it gets.
- Two Coats: Always apply two coats of sample paint. This helps you see the true colour and finish.
By following these tips, you’ll be more confident in your colour choice and avoid any nasty surprises once the paint is on the wall!
4. Drop Cloths
When it comes to painting, drop cloths are a must-have! They protect your floors and furniture from spills and splatters, which can happen even if you’re super careful. Here’s what you need to know about choosing the right drop cloths:
- Canvas-Backed, Plastic-Lined: These are great for floor protection. They stay in place and can cover any surface without slipping around.
- Thin Plastic Sheets: Use these to cover furniture and anything that can’t be moved. They’re lightweight and easy to handle.
- Paper Drop Cloths: These are perfect for smaller jobs or areas where you don’t expect a lot of mess. They’re easy to dispose of after use.
Hot Tip!
- Always clean up spills immediately to prevent them from seeping through.
- If you’re using canvas, it’s best to tape the edges down to avoid slipping, especially on hard floors.
- For large spills, have some paper towels or rags handy to wipe them up quickly.
Using the right drop cloths can save you a lot of hassle later on!
5. Roller Covers
When it comes to painting, roller covers are your best friends! They help you cover large areas quickly and smoothly, making your job a whole lot easier. Here’s what you need to know:
Choosing the Right Roller Cover
- Material Matters: Look for roller covers made from synthetic materials for water-based paints and natural fibres for oil-based paints.
- Nap Length: The nap (or pile) length affects how much paint the roller holds. A longer nap is great for textured surfaces, while a shorter nap is better for smooth walls.
- Quality Counts: Investing in a good quality roller cover can make a huge difference in the finish. Cheap ones can leave lint behind, ruining your hard work.
Hot Tip!
- Load It Up: Make sure to load your roller with enough paint. This helps in achieving an even coat.
- Let the Roller Do the Work: Remember, the roller is designed to apply paint evenly. You don’t need to press too hard; just let it glide over the surface.
- Use an Extension Pole: This will save your back and help you reach those high spots without a ladder.
Maintenance
- After you’re done, clean your roller covers properly. This will help them last longer and perform better next time.
- If you get paint on the roller, don’t panic! Just rinse it out with water (for water-based paints) or the appropriate solvent for oil-based paints.
6. Painter’s Tape
When it comes to painting, painter’s tape is your best friend. It helps you get clean lines and keeps paint from getting on surfaces you don’t want to mess up. Here’s how to make the most of it:
How to Choose and Use Painter’s Tape
- Pick the Right Tape: Look for an “easy release” painter’s tape. It sticks well but won’t tear off your paint when you remove it.
- Apply It Right: Make sure to press down the edges firmly. You can even use a putty knife to seal it tight against the surface. This helps prevent paint from sneaking underneath.
- Cut It Loose: Once your paint is dry, don’t just yank the tape off! Use a sharp utility knife to cut along the edge of the tape. This way, you won’t pull off any dried paint with it.
Hot Tip!
- Warm It Up: If the tape is stubborn, lightly warm it with a hairdryer. This can help it peel off easier.
- Remove While Wet: If you can, take the tape off while the paint is still a bit wet for the cleanest lines.
- Test First: Always test the tape on a small area to make sure it won’t damage your paint.
Using painter’s tape might take a little extra time, but it’s totally worth it for those sharp, professional-looking edges!
7. Caulking Gun
When it comes to painting, a caulking gun is your best buddy for sealing up those pesky gaps. It’s super handy for making sure everything looks neat and tidy. Here’s how to get the most out of it:
How to Use a Caulking Gun
- Cut the seal on the caulk tube.
- Screw the nozzle onto the cartridge.
- Retract the plunger rod to load it.
- Load the cartridge into the gun.
- Cut the tip to your desired size.
- Engage the trigger to start applying.
Why You Need One
- Weather-proofing: Fill gaps between weatherboards to keep the elements out.
- Neat finishes: Seal edges between skirting boards and walls for a clean look.
- Easy to use: Even if you’re a beginner, it’s pretty straightforward!
Hot Tip!
- Always clean the area before applying caulk to ensure a good bond.
- Use a damp finger to smooth out the caulk for a professional finish.
- Don’t rush! Take your time to get it right, and you’ll be glad you did!
8. Paint Bucket
When it comes to painting, having the right tools makes all the difference. A paint bucket is a must-have for any painting project. Why? Because it’s easier to move around, more stable, and way less likely to be kicked over or stepped in than a tray. Here’s what you need to know:
Why Use a Paint Bucket?
- Stability: Buckets are less likely to spill than trays.
- Mobility: You can easily carry it around as you paint.
- Convenience: Just pop a roller screen inside, and you’re good to go!
Hot Tip!
- Choose the Right Size: Make sure your bucket can hold enough paint for your project without being too heavy to carry.
- Use a Roller Screen: This helps to keep your roller from getting too much paint and makes it easier to apply.
- Keep It Clean: After you’re done, let the paint dry and peel it off for easy cleanup.
So, next time you’re gearing up for a paint job, don’t forget to grab a paint bucket! It’ll make your life a whole lot easier and keep your space cleaner. Happy painting!
9. Extension Pole
When it comes to painting, an extension pole is a game-changer! It helps you reach those high spots without needing a ladder, making your job way easier. Here’s why you should consider using one:
- Saves Your Back: No more bending or stretching awkwardly. Just extend the pole and paint away!
- Covers More Area: You can paint larger sections in less time, which means you’ll finish your project faster.
- Versatile Use: Not just for rollers! You can attach brushes too, making it a multi-purpose tool.
Choosing the Right Extension Pole
When picking an extension pole, look for one that’s lightweight yet sturdy. A good option is a paint roller extension pole – easy to handle and they often have an easy locking mechanism to keep it secure while you work.
Hot Tip!
- Adjust the Length: Make sure to adjust the pole to the right length for the area you’re painting.
- Use the Right Roller Cover: Pair it with a quality roller cover for the best finish.
- Keep It Steady: Hold the pole steady to avoid drips and uneven paint application.
With an extension pole in your toolkit, you’ll be painting like a pro in no time!
10. Cleaning Supplies
When it comes to painting, having the right cleaning supplies can save you a ton of hassle. After all, nobody wants to deal with a messy cleanup after a long day of painting! Here’s what you’ll need:
Must-Have Cleaning Supplies:
- Rags or Old Towels: Perfect for quick spills and drips.
- Paper Towels: Great for those little messes that need immediate attention.
- Bucket of Water: Keep it handy for rinsing brushes and rollers.
- Mild Soap: Helps in cleaning brushes and tools without damaging them.
Quick Cleanup Tips:
- Act Fast: Wipe up spills immediately to avoid stains.
- Use Warm Water: It helps break down paint more easily than cold water.
- Store Supplies Properly: Keep your cleaning supplies in a designated spot so you can find them when you need them.
Frequently Asked Questions
1. What type of brushes should I use for painting?
It’s best to choose high-quality brushes. They help you get an even coat and make the job easier.
2. Why is primer important before painting?
Primer helps the paint stick better and can make the colour look brighter. It’s especially important on bare wood or walls.
3. How do I choose the right paint colour?
Always test paint samples on your walls first. Colours can look different depending on the light.